
How to Connect your Windows PC to Internet via Wired Ethernet
If you've got a wired Ethernet cable and an available Ethernet port on your PC, this is the best option of getting fast Internet. This article shows you how to connect your PC to the Internet through a wired connection.
Step 1. Connect your Ethernet cable to your PC and plug the other end into your modem or router. In most cases, you will connect to the Internet automatically. If it doesn't work, go to the next step.
Step 2. Not being able to connect to the Internet? Troubleshoot your connection.
First, check the Ethernet settings. On Windows 11, go to Settings > Network & internet > Ethernet. On Windows 10, go to Network Connections (Windows key + X - click on "Network Connections") and click on Ethernet on the left.
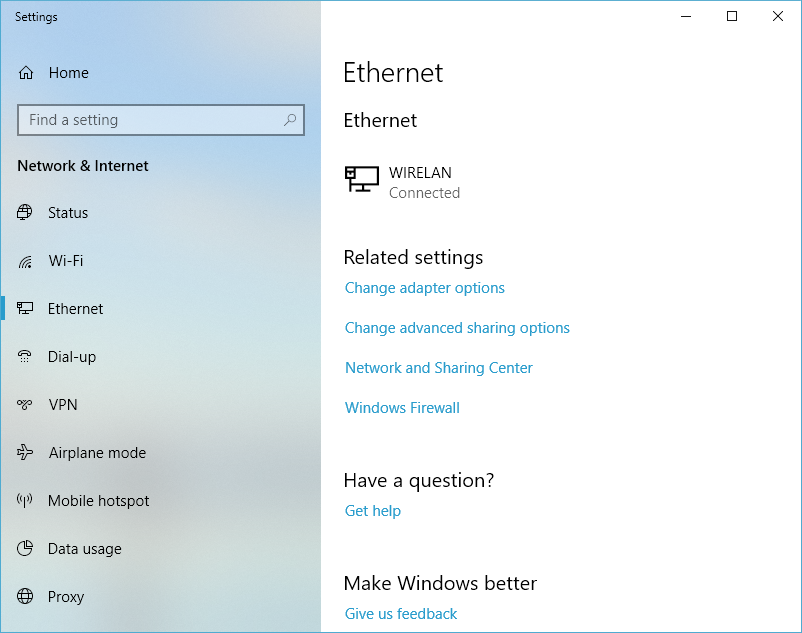
If you don't see anything listed here, open the list of network adapters and make sure the "Ethernet" connection is present:
- On Windows 11, go to Settings > Network & internet > Advanced network settings > More network adapter options.
- On Windows 10, click on "Change adapter options".
- If you have Connectify Hotspot, go to Help and account > Network connections and click Open.

If it says "Network cable unplugged", check your Ethernet cable - you may need to plug it in again or change it.
If it looks connected and the Internet doesn't work, contact your ISP for further instructions.