
How to Connect your Mac to Internet via Ethernet
With Connectify Hotspot installed on your PC laptop, you can easily share the Internet from your Wi-Fi, 3G, or 4G LTE USB stick, so your Mac and other mobile devices can get online, no matter where you are.
Start a Connectify Hotspot
Step 1: Purchase Connectify Hotspot PRO or MAX from the Connectify website. Note: While there is a free trial version of Connectify Hotspot, sharing 3G/4G or Ethernet connections as Wi-Fi is only available in the PRO and MAX versions.
Step 2: Make sure your 3G or 4G device or Ethernet adapter is selected from the ‘Internet to Share’ dropdown. Icons next to each adapter tell you what kind of Internet connection you’re selecting.
Step 3. Open Connectify Hotspot and choose Wired Router.
Step 4: Make sure your preferred internet connection source is selected from the ‘Internet to Share’ dropdown. Icons next to each adapter tell you what kind of Internet connection you’re selecting.
Step 5: Choose between Routed or Bridged. Learn more about the difference between Routed and Bridged mode by clicking this LINK.
Step 6: Share Over should be set to your Ethernet Adapter.
Optional: Choose the ' AdBlocker' option as this feature will save you a lot of data. Learn more about the universal ad blocker in Connectify Hotspot.
Step 7: Click the ‘Start Hotspot’ button to begin sharing your Internet connection with your other Ethernet-capable devices.

Connect your Mac to Connectify via Wired Ethernet
Step 1. Some older Macs come equipped with an Ethernet port, but most will require you to use either a Thunderbolt-to-Ethernet or USB-to-Ethernet adapter. Once you have connected your Ethernet cable to your laptop, plug the other end into your modem or router.
In most cases, you will connect to the internet automatically. If not, proceed as follows.
Step 2. Click the Apple menu and select System Preferences; then click Network.
Step 3. Select the Ethernet connection from the list on the left, keeping in mind that it may be named according to the adapter you are using.
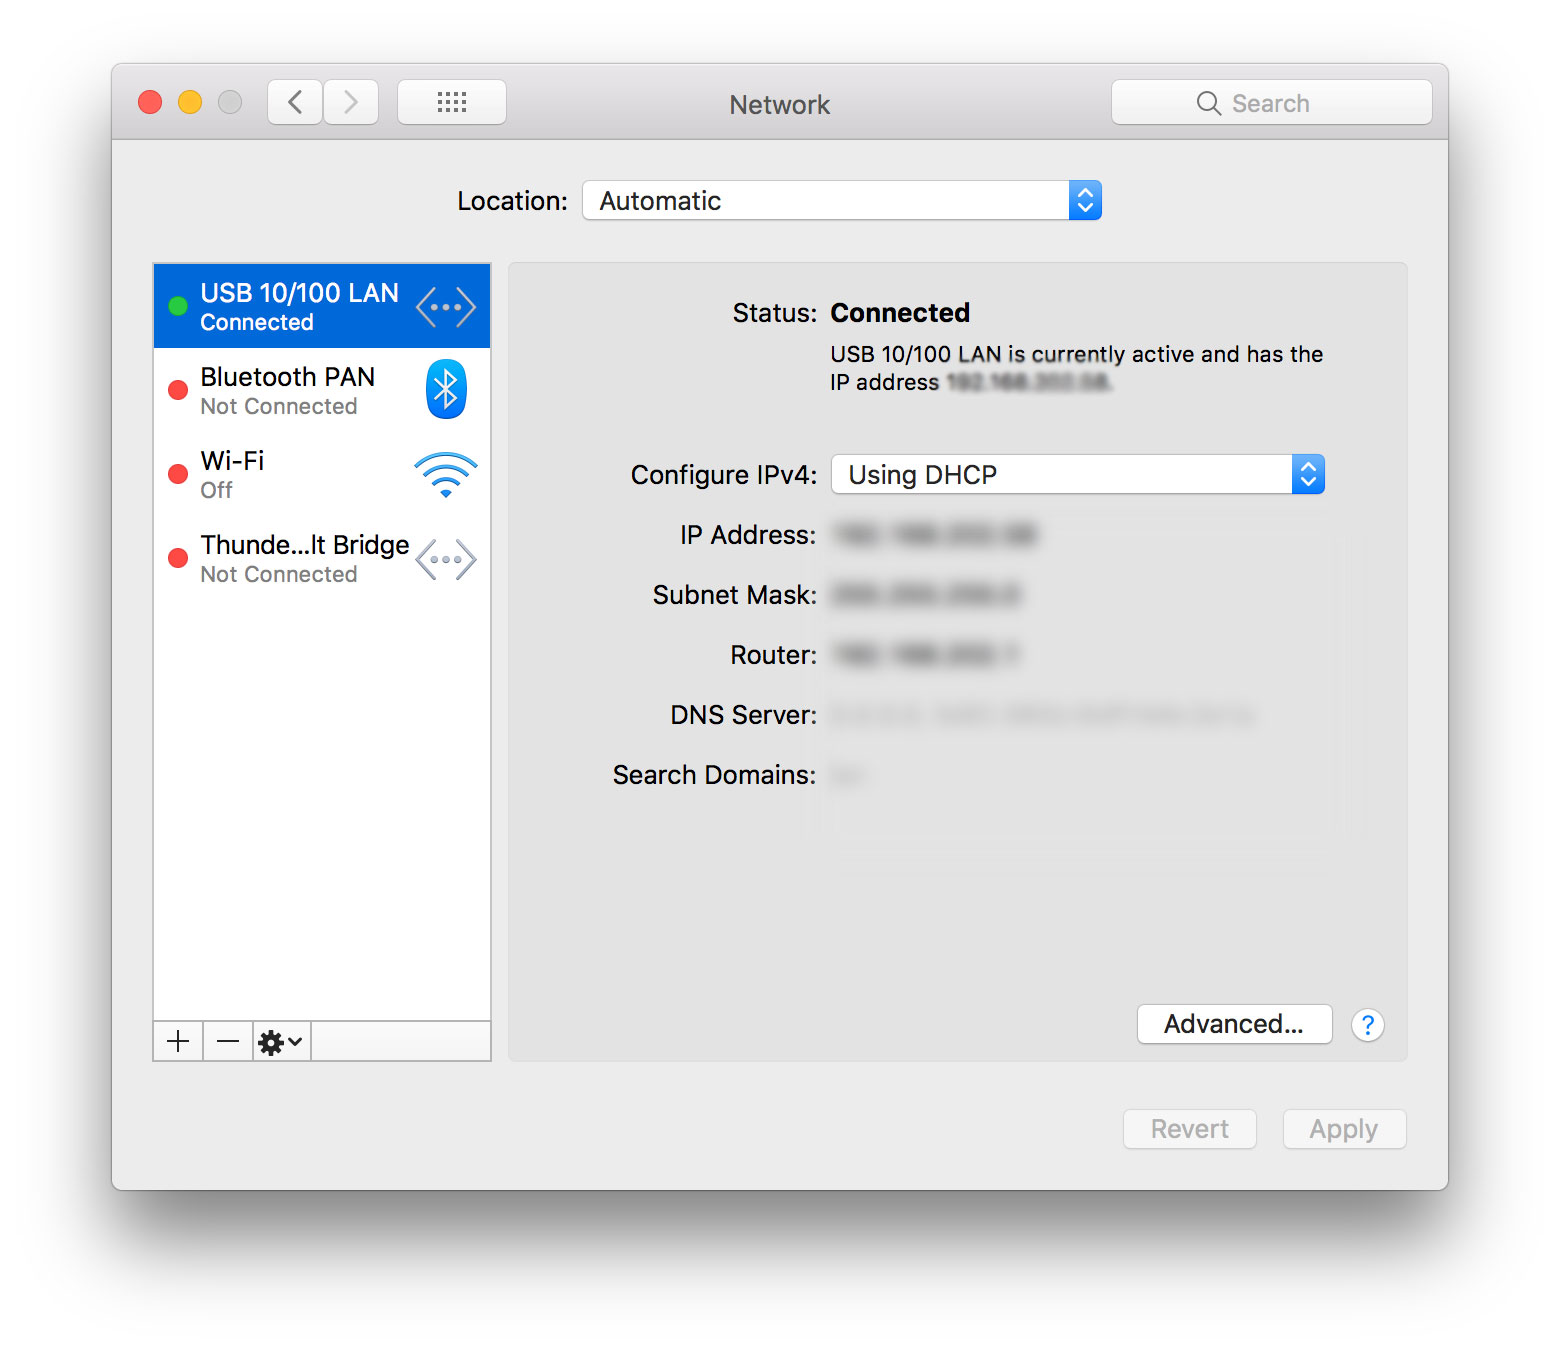
Step 4. Click the Configure IPv4 pop-up menu and choose your ISP’s recommended configuration method.
Step 5: Under Advanced, click DNS. Then add a DNS server using the + button. Enter the IP address of your ISP’s DNS server.
Step 6: Click Apply to activate these settings.